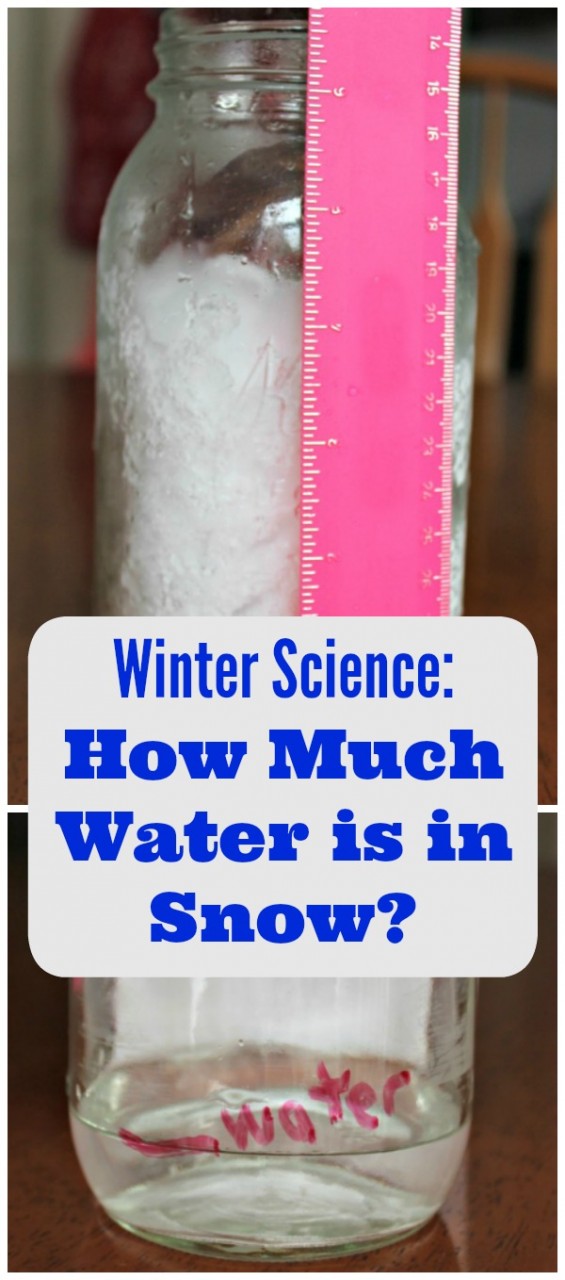
Winter Science Experiments: How Much Water is in Snow?
Winter is the perfect time for some simple science experiments — find out how much water is in snow!
My family will tell you that I’m an amateur weather buff — I like to observe what Mother Nature dishes out to us. Toss in the fact that I also love easy science experiments and a bad weather day at our house quickly turns into a DIY science lab 😉

 Winter Science Experiments: How Much Water is in Snow?
While watching the Weather Channel one morning, the forecaster was talking about the rain/snow ratio — basically 1 inch of rain would be equivalent to 13 inches of snow.
Wow!
So I thought it would be interesting to test this during our next snow. We only had to wait a week for Mother Nature to cooperate and send us a few inches of good snow!
This is such a quick & easy science experiment that kids of all ages.
Kids in preschool, elementary, middle school and even high school will really enjoy it and it only 2 minutes to set-up with some GREAT results! I’m including detailed directions so you can replicate this at home or in a classroom along with affiliate links to items that we used during our experiment.
Supplies for a Melting Snow Science Experiment
All you’ll need for this experiment is:
- a jar that you can fill with snow (we like to use mason jars for experiments like these because they are easy to see through)
- dry erase markers
- a ruler – we have this cool flexible/bendable ruler that we use with our nature experiments
- a sheet of paper/pencil
- a clock
- and if you want to delve into the nature of snow, we recommend this printable Winter Weather Nature Study set or one of the following books!
** Note: since we’re putting cold snow into a glass jar, there will be some condensation on the outside of the jar during the experiment — so you may want to place the jar on a towel or a surface that can get wet.
If you’re looking for a good book to go with this experiment (we always recommend connecting science & reading!), try one of these great non-fiction books:
Curious About Snow (Smithsonian) — a fabulous book about all things snow! Kids will enjoy learning about crystalization, the types of snowflakes that form, the science behind snow and more!
The Story of Snow: The Science of Winter’s Wonder — this nonfiction book reads more like a story which is perfect for younger kids. Illustrations show the process of water varpor becoming snow crystals and the book includes details about how to catch & observe your own snowflakes too!
The Snowflake: A Water Cycle Story — is also a wonderful book if your kids are learning about the the water cycle. The author follows the journey of a single water drop throughout the year showing how it may become part of a cloud, flow into the ocean or turn into a snow crystal.

Winter Science Experiment Set-up
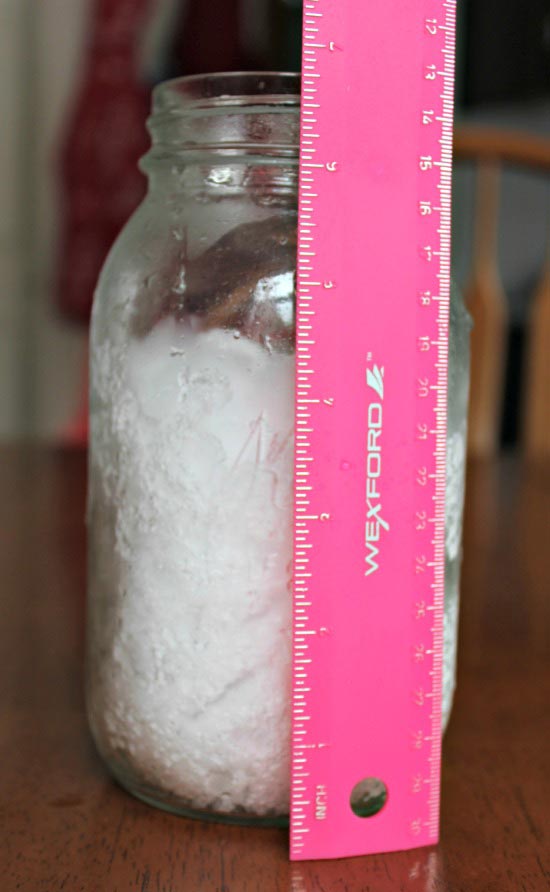
First, head outside and fill the jar with snow. Be sure to pack it down some so you have a nice solid amount.
Bring the jar back inside and mark your snow line using the dry erase marker.
This may be difficult as your glass jar will be super cold & wet so the marker may not work right away.If you have a problem with the marker not writing, try adding a rubber band around the jar to mark your start line.
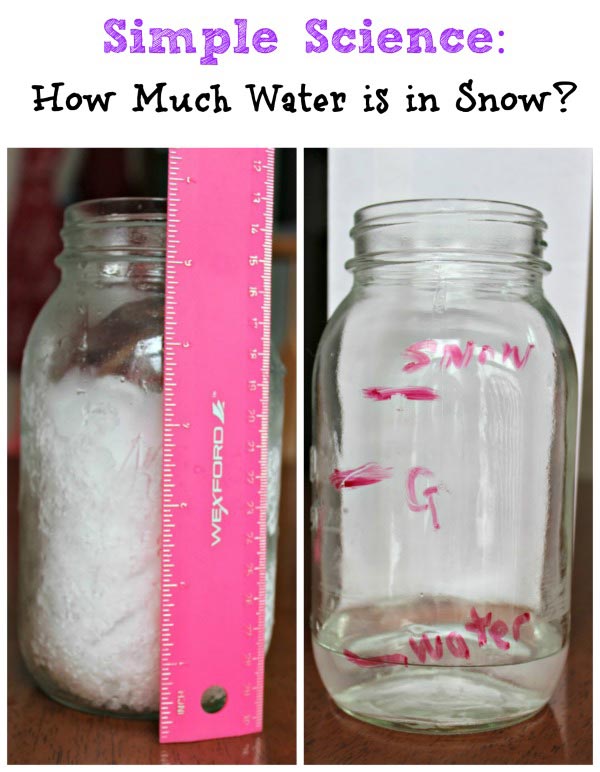
Then use the ruler to measure the height of the snow in your jar. We measured 4.25 inches of snow in our jar.
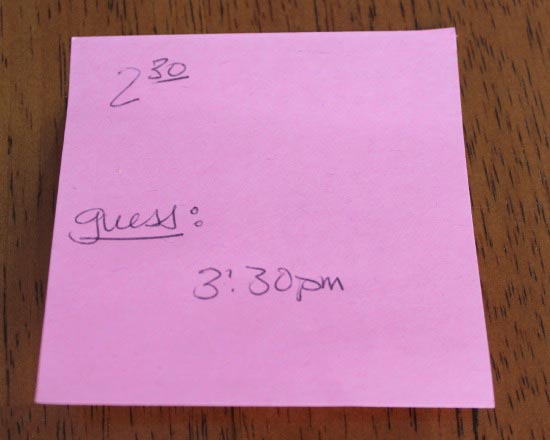
Write down the time on a sticky note or piece of paper (we started our experiment at 2:30 pm).

Science Experiments & Predictions
Part of doing a science experiment means learning about science concepts.
With this activity, kids will learn how scientists make “educated guesses” also called Predictions as part of the Scientific Process.
What we know —
- we know that if you bring a jar of snow into a room with a temperature above freezing, the snow will begin to melt
What we DON’T know –
- we DON’T know how much water will be left in the jar
So how can we make a prediction or ‘educated guess’?
First, we can look at how much snow we have in our jar. For example, if you can measure your snow level in feet, you will probably end up with more water than if you measure the snow you collected in inches.
Second, we can look at the results that others have recorded from their similar experiments!
Above, I mentioned that 1 inch of rain was equivalent to 13 inches of snow — that might give us some insight into our water amount.
And below, you can see our experiment results along with the outcome another family recorded when they did a similar experiment.

Snow Science Experiment
Now ask your kids two questions:
1. When the snow completely melts, how much water do you think will be left in the jar?
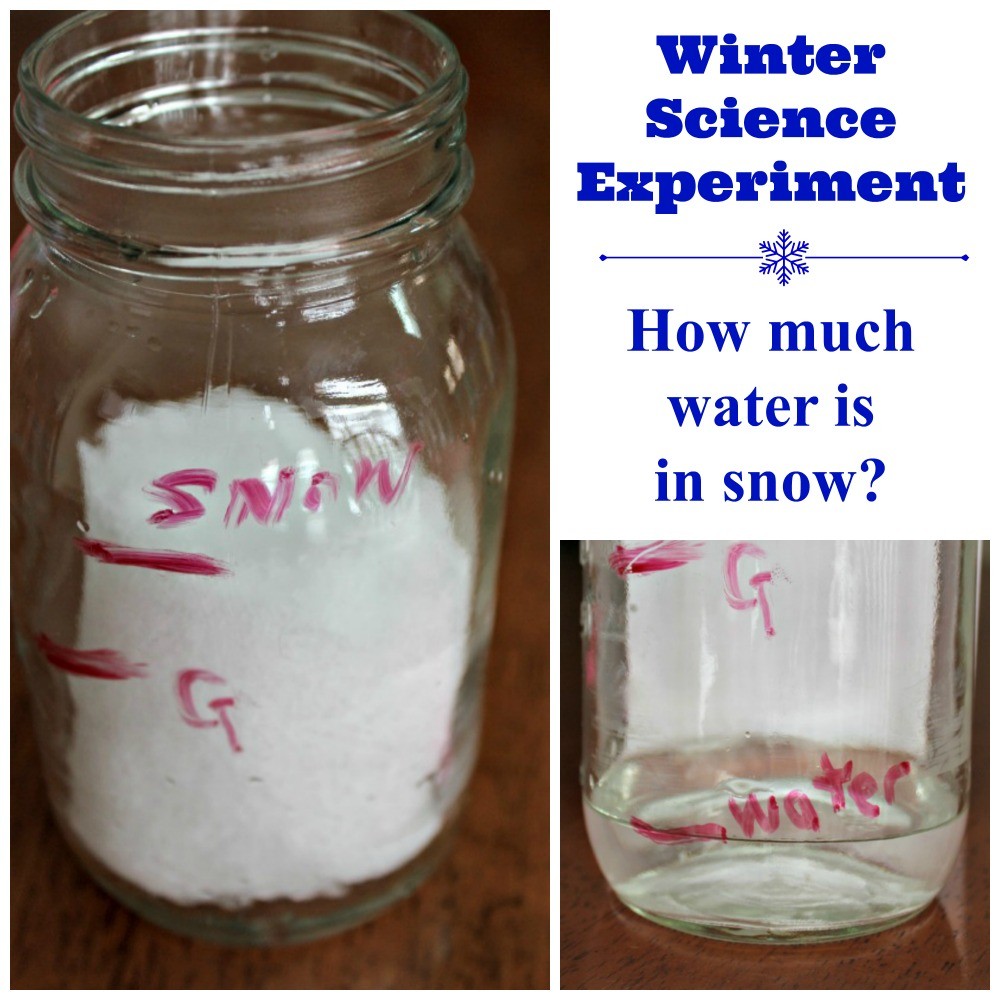
Use the dry erase marker to mark their estimation or ‘guess’ line (we used a “G” to mark ours).
You can explain to your kids that an estimation is an educated guess based on what you know about the experiment (in this case, we knew the snow would melt because we brought it inside where the temperature was warmer than 32 degrees).
2. How long do you think it will take all the snow to melt?
This is a BONUS question – not only are we trying to estimate the amount of water that will remain in the jar, but it’s also intriguing for older kids to estimate the TIME it will take for the snow to melt.
Write their estimation on the piece of paper. Our ‘guess’ was that it would take an hour to melt.
For more details on science experiments & predictions, see this Sink & Float Experiment with free printable.
Now go off and do something fun!
Because it’s going to take a while for the snow to melt 🙂
You might want to take a peek at these 33 Fun Indoor & Outdoor Winter Activities while you wait.
Or try one of these other fun Winter Science Experiments for kids!
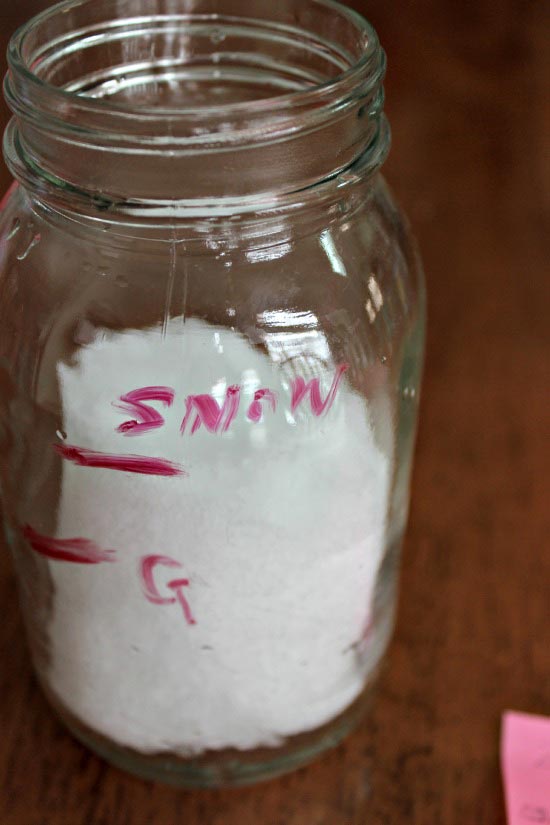

Science Experiments & Observation
Another skill to teach kids when you do an experiment is how to observe changes — you don’t just want to leave the snow in there overnight and walk away! There’s so much learning that happens during the melting period.
For example, this is what our jar looked like after 1 hour.
At first, we weren’t sure the experiment was going to work. We just saw the snow getting lower but didn’t see any water forming in the jar. In hindsight, I should have known that some of the snow would evaporate early on instead of just melting — another great lesson for kids!
There are multiple things that water can do in the water cycle — evaporate, condense, melt, etc. If you want to tie this to the various parts of the water cycle, be sure to see the LEGO Water Cycle science project to learn more.
As you can see, we were a bit off with our estimation of how long it would take the snow to melt. That jar stayed cold for a long time and the packed snow retained it’s low temperature until there was enough air surrounding the snow block to melt it from multiple sides.
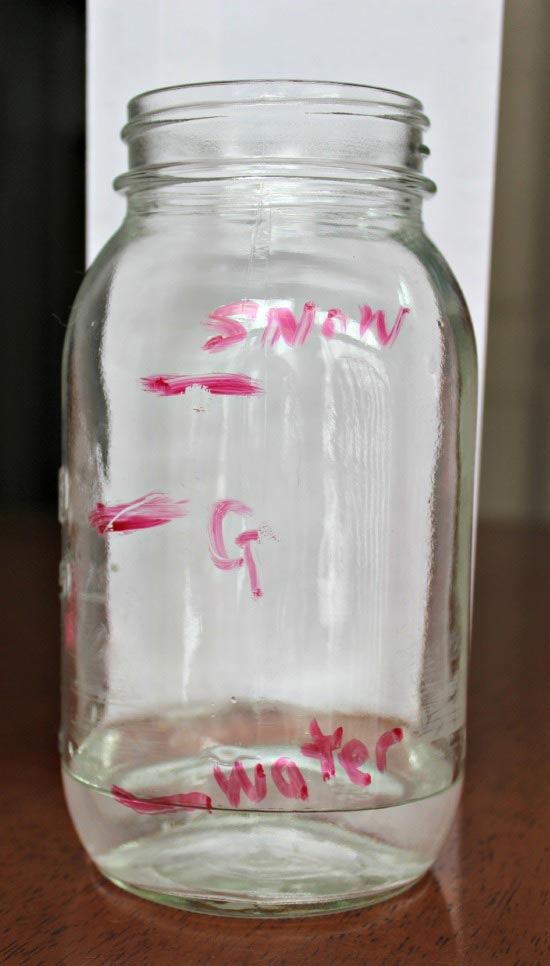

We checked in on the jar every 30 minutes or so and when it FINALLY all melted, our jar looked like this.
A far cry from the original 4.25 inches of snow!
So, how long did it take for the snow to melt?
Drum roll please …..
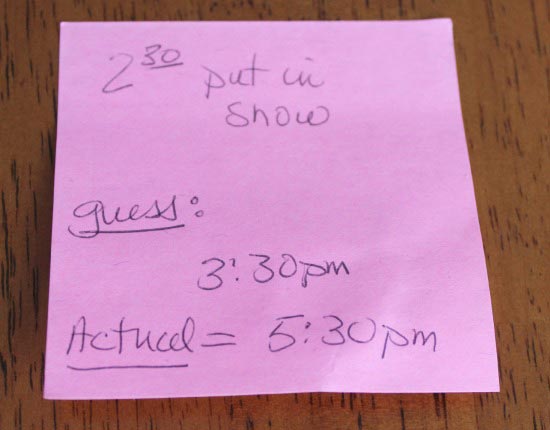

Yep, 3 hours before we had a jar of water.
As my daughter said, it took a loooonng time 🙂
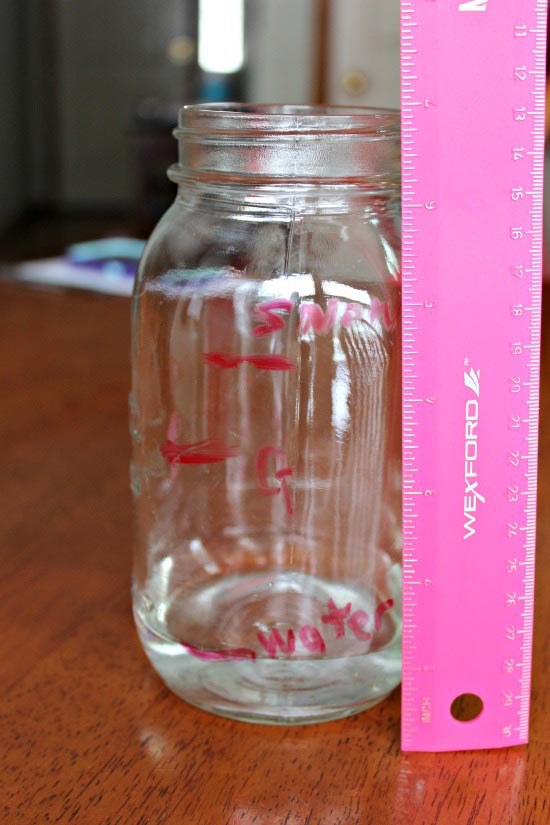

We used a ruler to measure our results as we were trying to see if we would have the same ratio as the weather forecasters but I’m not sure how they measured their snow melt.
So for us, 4.25 inches of snow melted to 1 inch of water.
Ideally, I think you would want to measure snow and water as volume but that’s harder to do with snow unless you have a really good size measuring cup.
Science Experiments and Replication
And just for good measure, we repeated the experiment with a second jar of snow.
This is a great experiment to discuss the idea of how scientists work to replicate their results by running the same experiment more than once.
By replicating the experiment (doing it again under the same conditions), you have more evidence that your observations and results can be reproduced by others and they’re aren’t just a fluke. So to replicate, you should gather snow from the same snowfall, on the same day, in the same jars and allow it to melt in the same location in the house (because inside temperature will vary). These details are super important to explain to kids so they have a grasp on the idea of ‘replication’.
You should really replicate an experiment at least 3 times — but remember how long I told you it took the snow to melt? Well, we were getting close to bedtime by the time the second jar got there 😉
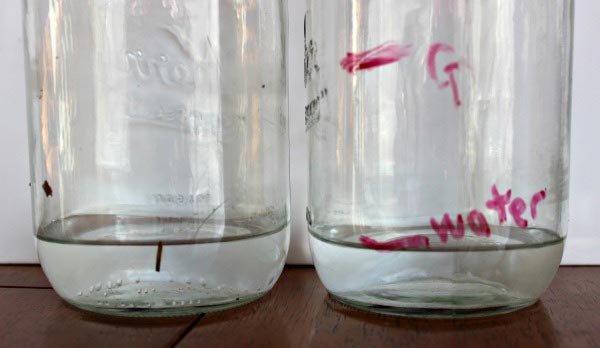

Here are the two jars side by side — the results were very similar with almost the same amount of water in the end.
We were certainly surprised with the results!
Simple Little Home also did this snow experiment during their book study of Katy & the Big Snow (one of my favorite winter stories and on our 10 Best Classic Winter Books for Kids!).
The snow they collected produced more water than our snow did which is really interesting and probably has to do with both the temperature and moisture in the air when the snow falls. It could also have to do with the humidity level in your house when the snow is melting (more humid air would probably account for less evaporation of the snow early on since moist air is more saturated with water vapor molecules than dry air).
Let us know if you try the experiment — what was your ratio of snow to water?
More Winter Science Activities:
Exploring Animal Tracks in Winter
Making Ice Wreaths: A Winter STEAM Activity
More Easy Science Experiments for Kids:
The Science of Sound: Make Your Own Gong
Popcorn Math & Science
Make a Tornado in a Bottle



Average Rating